hours 0 to 50
Purpose of a Defined Post-Processing Workflow
I firmly believe that having a plan, or defined workflow, for post-processing leads to huge efficiency gains and better images, even if you don’t stuck to it.
I’m starting with RAW images straight from the camera’s memory card. I import these into Lightroom (in my case Classic CC) where I do the bulk on the selection and processing; final tweaks I do in Photoshop CC.
There are some steps in the process that are more applicable to different styles of photography than others, i.e., portrait, Landscape, Macro, etc. My familiarity, is greatest with Landscape photography at present, so I will inevitably lean in this direction, but will add sections relevant to other styles, to the extent that I can.
I’m a PC user (sorry), so if you need to translate to Mac: <CTRL> = <cmnd>, and “right click” = who knows! But everything else should be the same, and certainly the overall principles apply.
12 1/2 Steps.
This is a post that I particularly expect to revisit in the future. So, if you have any ideas or thoughts, please post comments below.
To see more posts on other photographic topics, or to follow my learning progress, please like or follow me on the social media channel of your choice to the right
Step 1: Camera to Computer
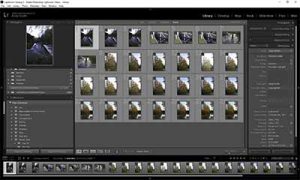
The first law of Lightroom: “If using Lightroom for anything, use Lightroom for everything.” In particular, never move files using Explorer or make other changes that may confuse Lightroom. So I initiate Import from Lightroom, and my PC is configured so that as soon as new memory device is connected Lightroom starts and offers to import any photos. See Screen below:
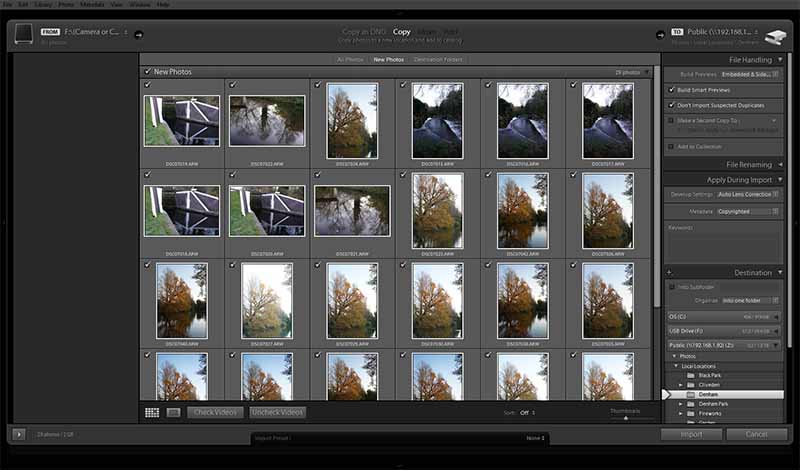
Note the following settings, from the top, right hand panel, items in bold are NOT the default:
- Build Smart Previews – saves time when comparing shots later
- Don’t import suspected duplicates
- Default Settings: Auto Lens Correct – this a User Preset that checks the lens I’m using and automatically applies the correction profile
- Organise: only one folder – the default is to add date folders, which is really messy.
Step 2: Picking the Best, then Deleting the Rest
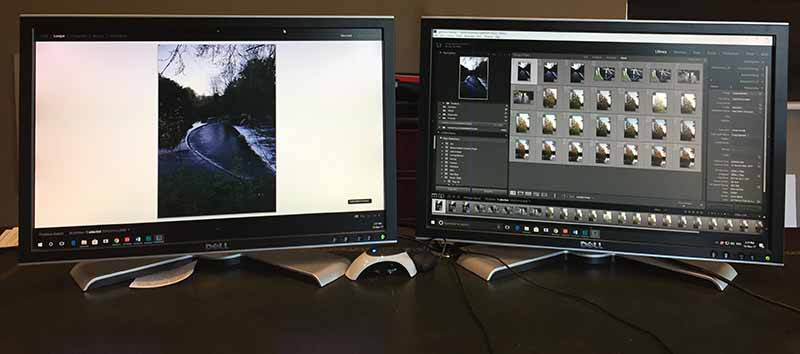
In fact I have three categories:” good”, “bad” and “not sure”. Lightroom makes it really easy to flit between images picking stars and marking duds for deletion. First pass through, I’m looking just for shots that are out of focus or otherwise unworthy of further attention. Right hand on the arrow keys, left over the x (mark for removal) and p (pick) buttons, but mainly the x! In the example below, taken in the early morning of 13th November 2017, there were variations of only 4 shots. So I want one pick of each and perhaps a spare or two.
My set up, as shown below, has two screens: one is dedicated to the image, and the other, the control panel.
>>> Now we have the shots to edit, we switch to the Develop tab and work our way down the panels on the right hand side <<<
Step 3: Crop for composition
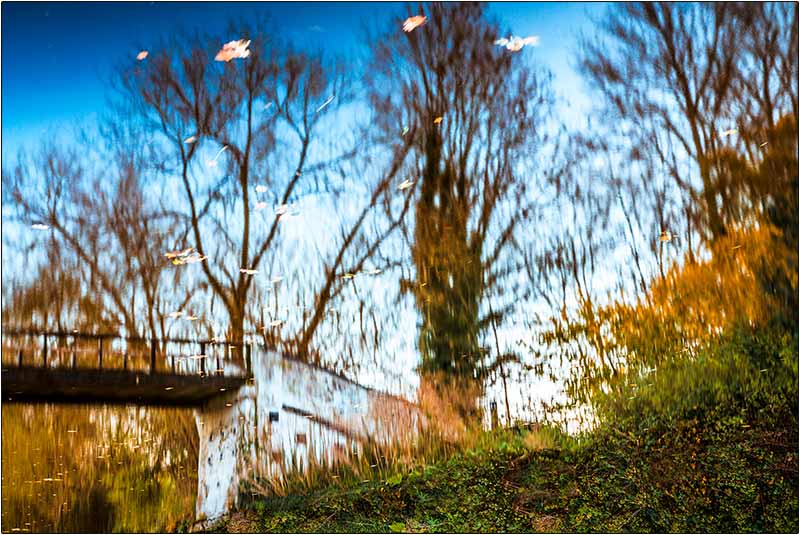
The Set Subject competition is “Rivers and Waterways” and my most promising image is the following image of a bridge over the Grand Union Canal in Denham Country Park reflected in that canal. (OK, it looks rubbish now; but it gets better!)
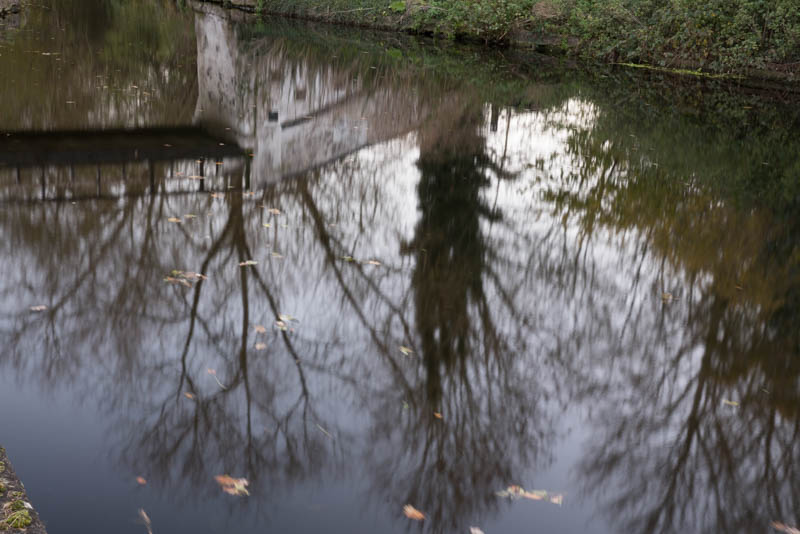
This needs no cropping but it does need flipping vertically (from the Photo pull-down menu right at the top).
Tip on cropping: by default the overlay is for the rule of thirds, this can be changed by pressing “o” on the keyboard to cycle through alternative overlays.
Step 4: Basic Editing – Top Panel
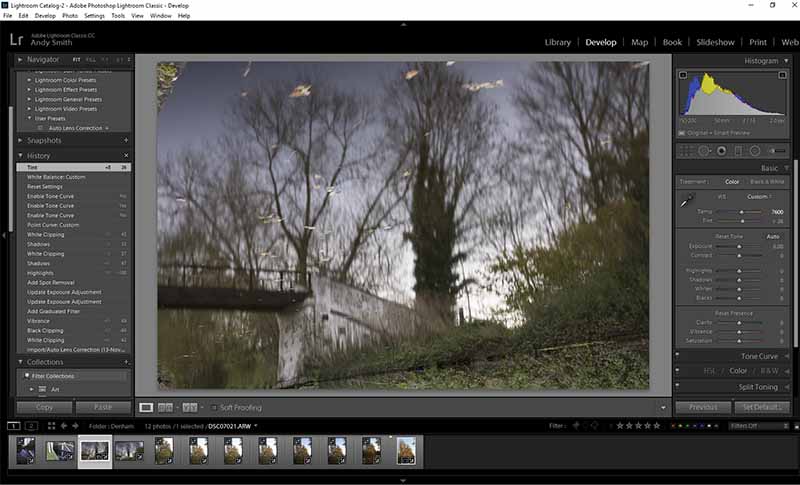
The image looks pretty flat so I need a first stab at improving the overall tone: boost the whites, control the highlights that this creates (red clipping warning), lower the blacks and increase the shadows to bring back a bit of detail in the trunk of the reflected tree.
Then boost the clarity and vibrance to get more colour impact.
Spot removal: What often happens at this point, when more detail has been revealed in the white area, is lens spots become visible, particularly when using a small aperture such as the f/16 used for this image. I methodically scan through the image expanded to 1:1 removing them with the spot tool, which does a great job. Happily though, in this case, clean lens means no work to do.
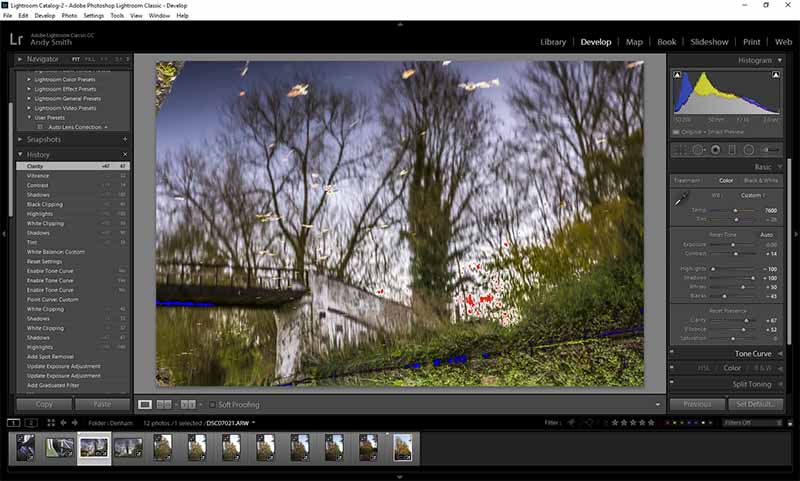
Step 5: Further Tone Adjustments &
The toning tool allows for very subtle adjustment. In this case we are looking for an overall brightening whilst keeping the highlights under control and balance at the lower end of the register stable.
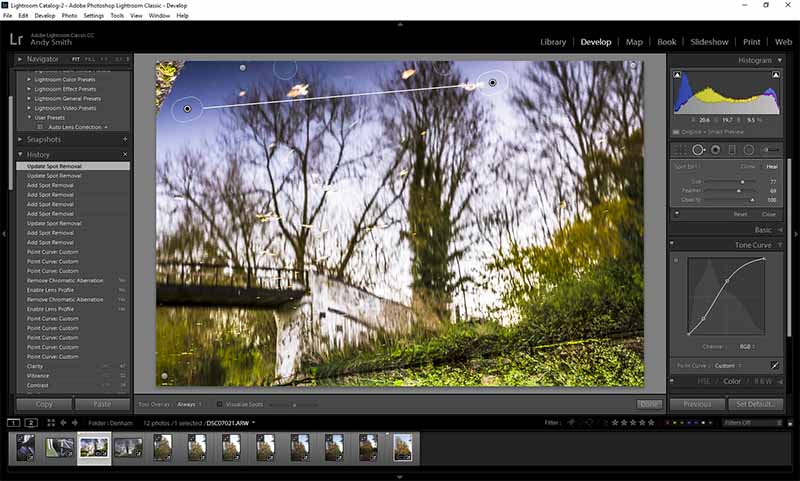
The spot removal tool has been used to remove the large distractions in the top-right and bottom left corners. Then I’ve used it to remove distracting elements around the edge of the image – see my post Competition Strategy.
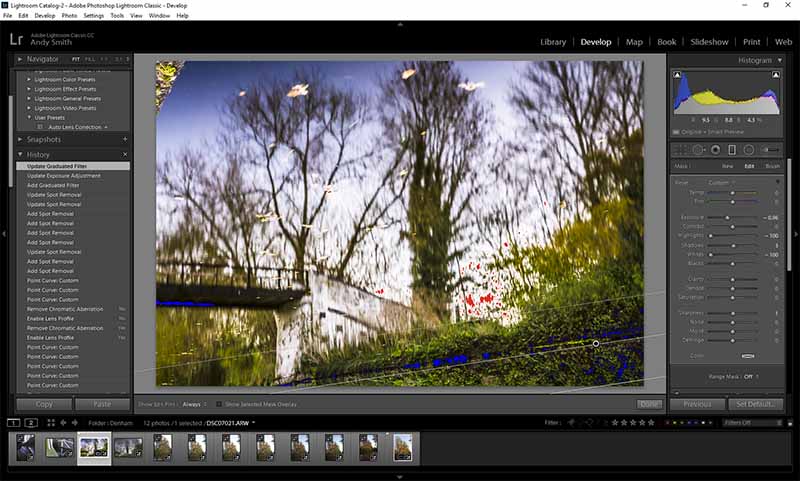
Step 6: Adjust Bright Non-Focal Areas with the Gradient Tool
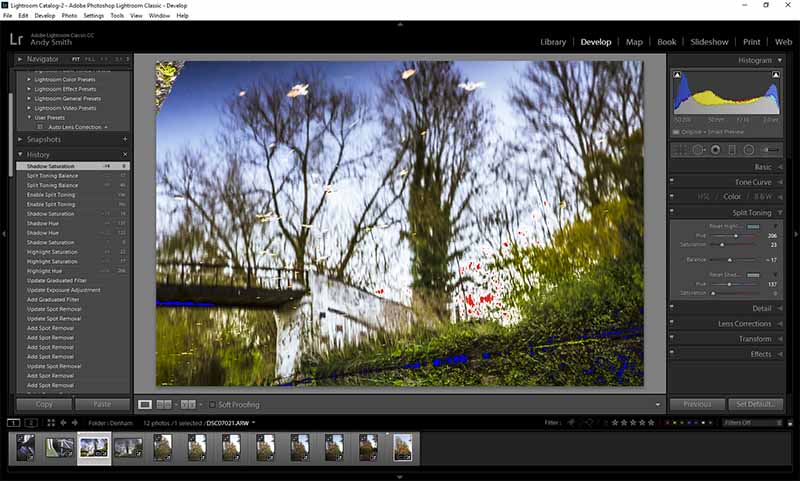
Step 7: Split Toning
Split toning generally adds colour to an image, either in the highlights, shadows or a different colour in each. In this example I want to make the highlights more blue (currently a little too purple for my liking), and leave the shadows alone.
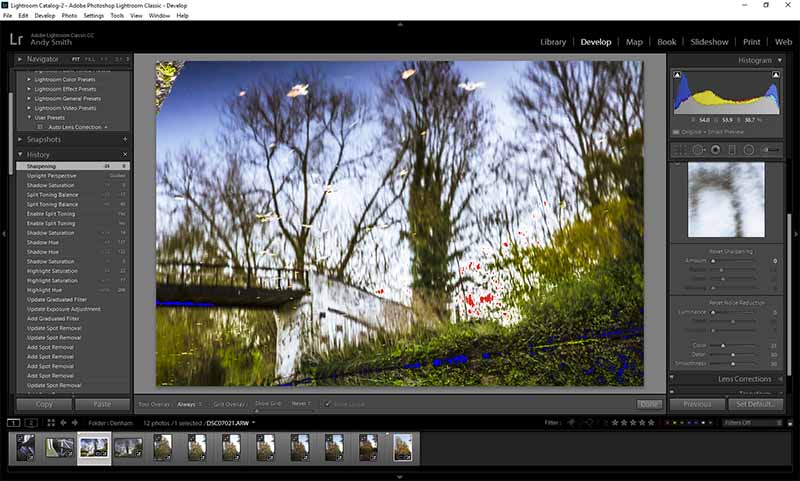
Step 8: Detail – Noise Reduction and Sharpening – The Danger Zone
In the words of Kenny Loggins and the Top Gun theme song: “Welcome to the danger zone.” Although this panel promises to fix all your in-camera errors, such as noisy images and lack of focus clarity, it does so at a price.
The problem with noise reduction is that whilst it works well in areas of flat colour and tonality, but it smooths detail making it look like a watercolour painting. In general, I want my images to look like photos. So, if there is a bit of noise, like grain in the olden days, so be it!
Sharpening is another matter: common sense information theory states that it is impossible to add detail to an image that wasn’t there in the first place. So Lightroom is not actually sharpening our images. What it is doing is identifying edges and increasing the contrast either side of the line. So an identified edge, with lighter pixels on one side and darker pixels on the other, will be marked by a line of even lighter pixels immediately next to a line of even darker pixels. This creates a halo effect beside the edge, merely giving the illusion of sharpness.
Both of these techniques can be useful, but use with caution.
Over to Photoshop to finish up
Following the mantra of “do everything from Lightroom”: either, from Developer mode, go to the Photo pull-down menu and select: “Edit in” then “Photoshop CC” or, from the Library mode, right click and again “Edit in Photoshop CC”.
Step 9: Clone out Undesirables
We have a distracting and unnatural looking part of the near bank appearing in the top-left of the image (remember this is an inverted reflection) and what was the far bank, bottom-right, has this nasty line through it. Both need cloning out.
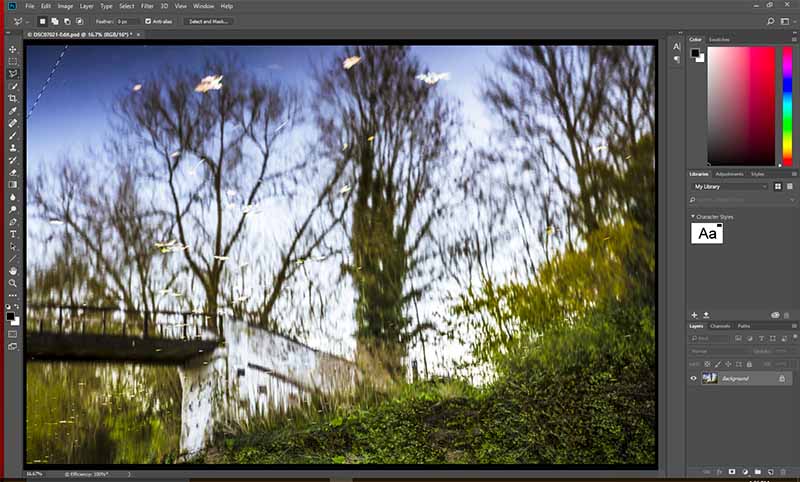
Content-aware fill does a great job of filling in the top-left corner. Note: I generally find it necessary to make the selection slightly larger than the area to be filled to ensure that there is no gap or line.
Step 10: Making the Colours Pop with Lab Colour
There are a few more sophisticated ways to play with colour channels, but this is a quick and easy.
- First replicate layer, so that you can easily see a “before” and “after” or tone down the effect if you think it’s too much
- Go to Image > Mode and change to Lab colour
- Go to Image > Apply Image
- Experiment with the setting (see below)
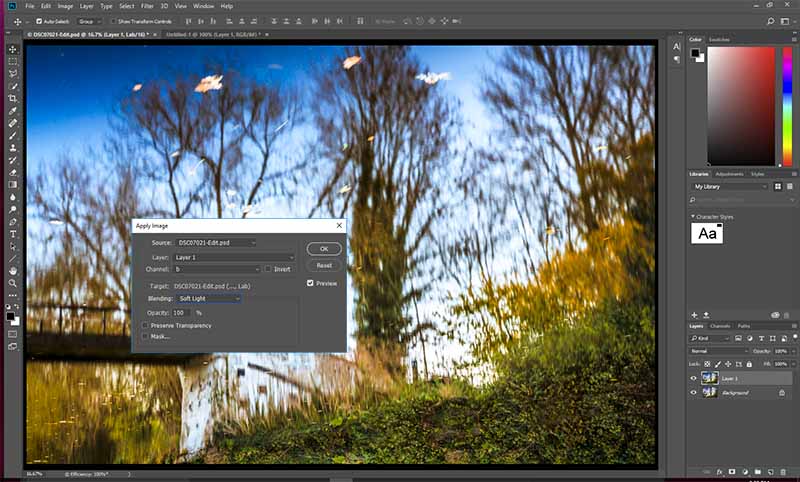
Usually, I find a blend mode of Overlay or Softlight on channel a or lab works best. However, on this occasion I prefer the unusual yellowy colouring produced by the Soft Light blend on the b channel.
Change the mode back to RGB (again don’t flatten). By hiding and unhiding this top layer, you can see the before and after of this process.
Step 11: Finally Sharpen
What I said about the impossibility of sharpening in Lightroom, Step 8 above, still holds true in here. However, in Photoshop we can be a little more subtle. The following two stage process was recommended last Sunday, by my guru of the moment Paul Mitchell FRPS. Smart sharpen followed by the Unsharp Mask.
First: Filter > Sharpen > Smart Sharpen
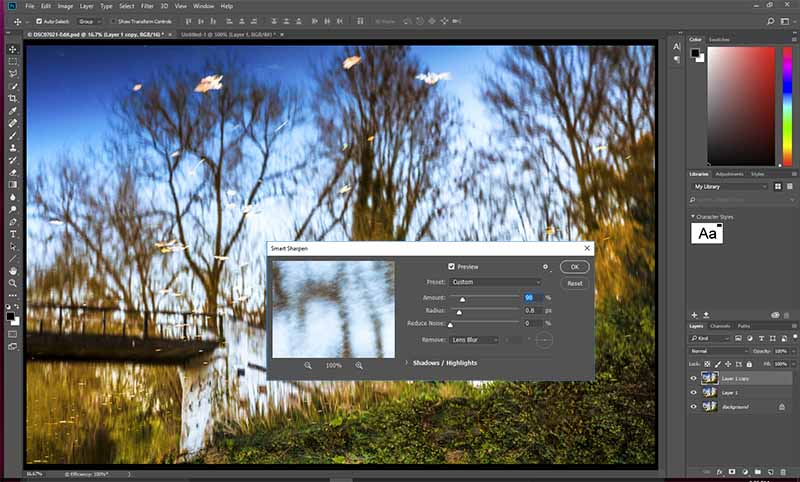
Then Filter > Sharpen > Unsharp Mask
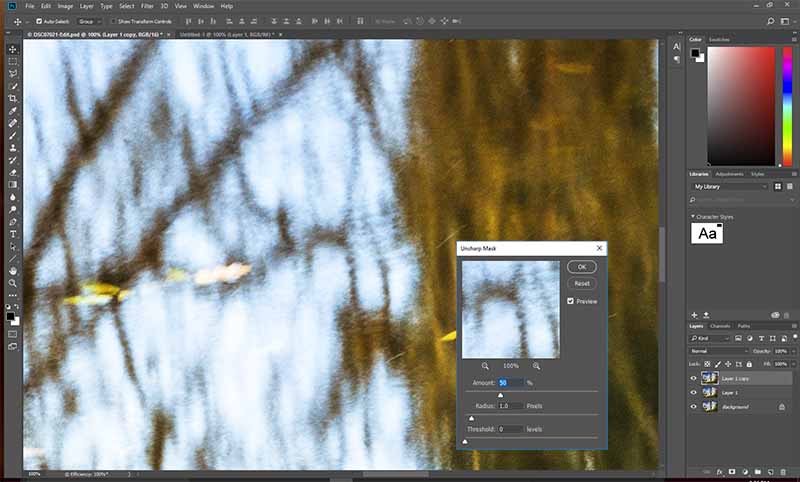
Even when viewed at 1:1 magnification, the results are subtle, to say the least!
Step 12: Prep for the Competition
Need to reduce the image to the maximum allowed size for the competition and add a white boarder/ keyline and a 2 pixel black stroke. See my Competition Strategy.
Step 12 1/2: Tidy up
Make sure you put your memory card back in your camera, so you don’t find yourself in the embarrassing position I did this morning.
Before and After
Acknowledgements and references:
- Scott Kelby‘s 7-Point System for Adobe Photoshop
If you have any ideas or thoughts, please post comments below.
To see more posts on other photographic topics, or to follow my learning progress, please like or follow me on the social media channel of your choice to the right.
Post written whilst listening int the 1997 recording of Verdi’s Aida with Maria Callas.
You have set yourself a task and a half but got off to a flying start with this blogging site. Well laid out and easy to read and highly informative. I don’t normally get too absorbed in this type of website but I have read this issue from cover to cover and checked out all the links. I am sure I am going to learn a lot with most of the hard work being done by you!.
Congratulations. Keep it up (for all us enthusiasts).
George, thank you for your kind words, and help so far. I have learnt a lot from you.
I will do my best!