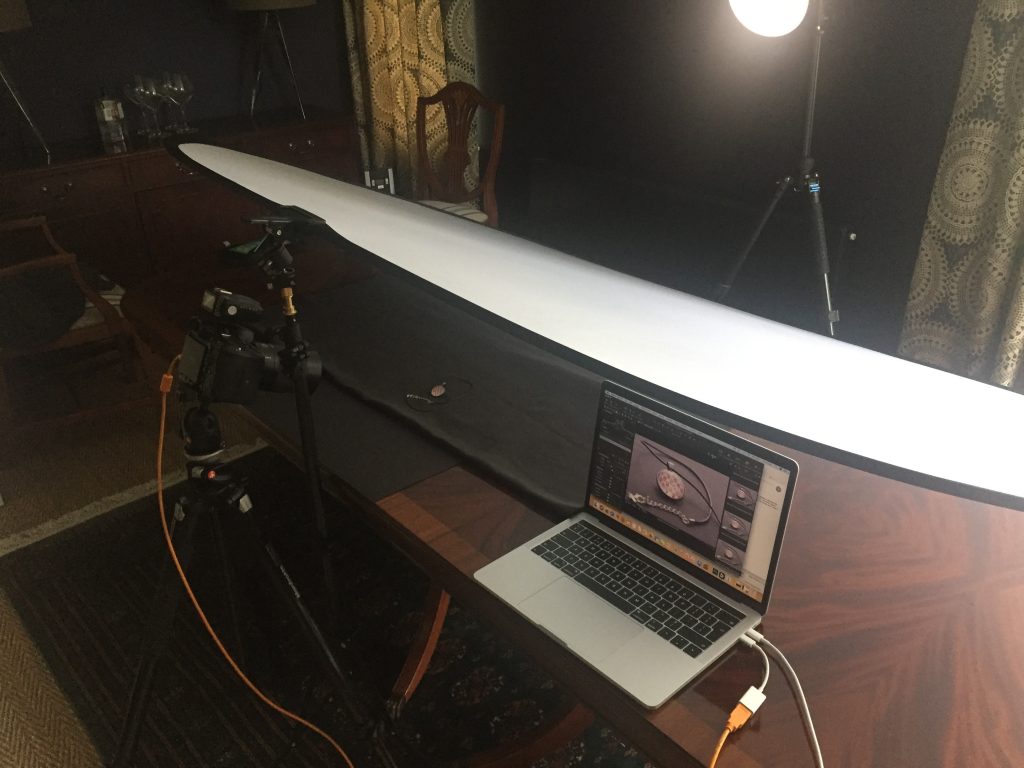
Shooting tethered to a laptop enables the photographer to see what they are shooting in the full resolution of the laptop screen as they are shooting it.
If you have to get it right, there and then, tethered shooting provides the best opportunity for checking that the images are at the standard required.
Context of this Post
Just over a year ago (April 2019) I published “Second Revision: Workflow at 2,000 Hours” which touched upon Shooting tethered but said little more than Capture One is great at this and is the perfect partner for Sony cameras.
In the last year, particularly the last few months, I have been shooting tethered more regularly. This post aims to flesh out the details of how I work in practice, including some of the tips I’ve picked up along the way.
Equipment Used
The only additional bit of equipment actually required is a tether cable. Although it’s just a wire, quality does seem to be important. The wire that came with my camera just didn’t work, and the more expensive bit of wire from TetherTools has worked faultlessly.

Creating a New Session
New Session
A session is Capture One’s way of grouping together a set of images for a particular project.
Physically on the computer’s disk, a session manifests as a new folder containing, by default, the following sub-folders:
- Capture – where the images are initially stored following transfer from the camera’s memory card. However, when shooting tethered they are moved here as soon as they are shot; usually directly from the buffer, without ever being stored on the memory card.
- Selects – place for holding the “Keepers”
- Output – destination folder of derivative files such as JPEGs, TIFFs, etc.
- Trash – deleted files.
Template
I have defined a template called “Two shots” (when/ if I ever need it I’ll also create, three, four, five shots) which automatically sets up the sessions characteristics as defined in this section.
Capture Sub-folders and Favourites
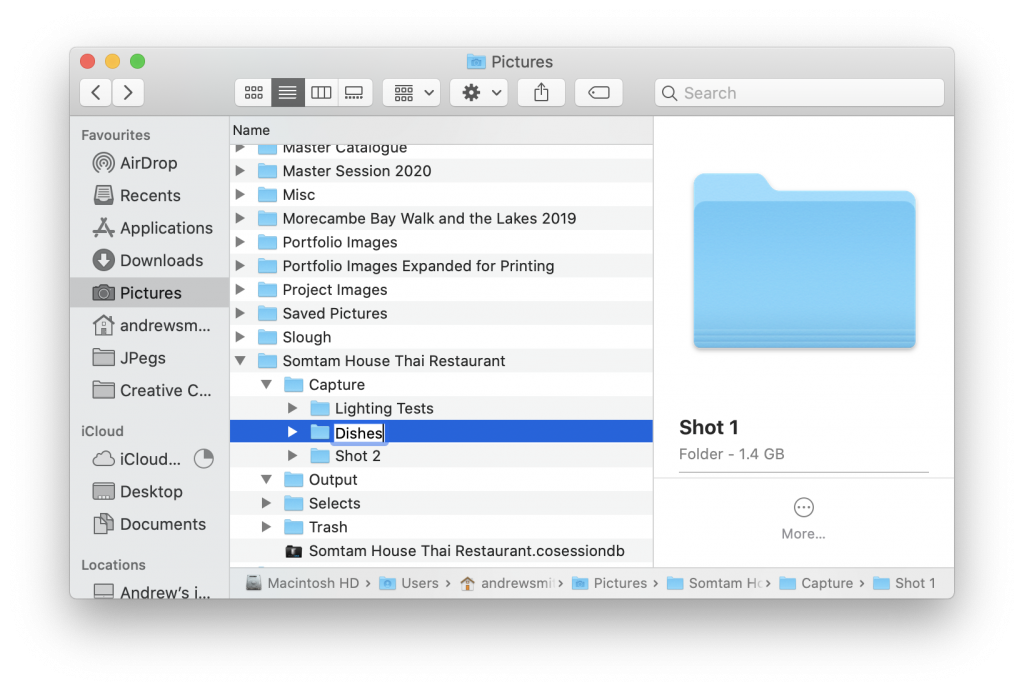
The first of the session characteristics is sub-folders within the standard Capture folder created as:
- Lighting Test
- Shot 1
- Shot 2
and sets the initial capture as the Lighting Test. I can use the Mac’s Finder to change the name of “Shot 1” and “Shot 2” to something more appropriate, and this is immediately reflected in Capture One.
Within Capture One the template also creates Session Favourites which map directly to the sub-folders within the Capture folder.

The camera icon on the right shows the folder into which the next shot will be stored. (Set initially to Lighting Test).
Next Capture Name
To ensure that images are forever associated with this project, I use the Next Capture Name tab to assign file names of the format:
<Session Name>_<Sub-Folder Name>_Increment.ARW
(File extensions just match the camera: “ARW” is the extension for a Sony RAW file, “iiq”, as shown below, is for a PhaseOne RAW file, and it’s different again for Canon, Nikon, etc.).

Again this is set up automatically by my “Two Shot” template. Templates really are super useful and easy to use.
Test Shots
Using my Two Shot template above, capture one starts by putting all images captured into the “Lighting Test” sub-folder. This enables me to keep test images separate from the main shoot.
Composition and Shooting (featuring CapturePilot)
The following assumes that the connected camera is mounted on a tripod.
The live view feature of Capture One Pro transmits the camera’s live view to the laptop. It is easier to consider the merits of a composition when looking at a full size display, and seeing the image as a the end viewer will.
The live view continues to work when the camera is zooming with a view to checking focus on a 1:1 basis. This is often easier to see on a full laptop display.
Capture Pilot is an ap running on a smartphone (or over the web) that enables various functions of Capture One to be operated remotely including viewing, adjusting and firing shots. The laptop and phone need to be connected to the same wireless network.
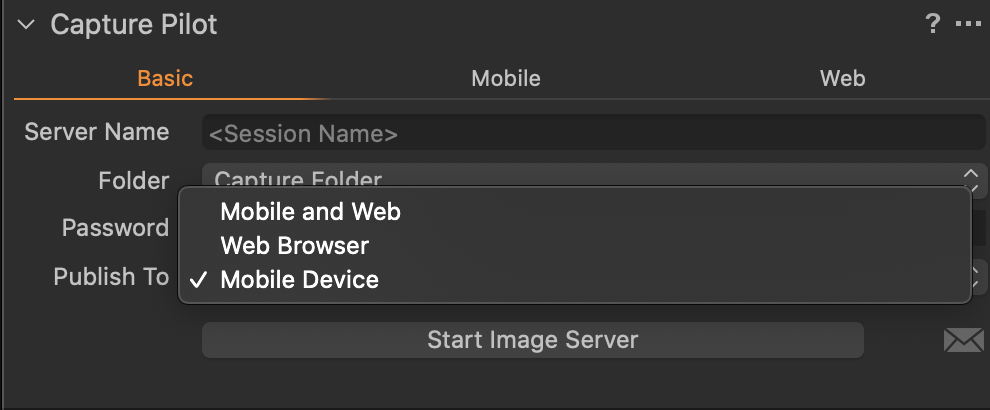
Main use I have found for CapturePilot is flexibility reviewing shots when away from the computer adjusting elements in the composition, and reshooting. I have not been able to enable Live View to Capture Pilot, this is a shame as it’s a feature that would definitely add value.
Although I haven’t tried it, the functionality exists for a remote client to view and rank shots over the web as the shoot is taking place.
Initial Review
Live view displays the image without strobe or flash lighting. When we take the shot, firing artificial light, we get the image immediately transmitted to the laptop for review. We can check:
- Lighting, including overall exposure level and areas of concentration – in theory this should be fine because of the earlier test shots. However, in practice, it rarely is.
- Depth of focus
- Overall feel of the shot.
The goal of tethered capture is to ensure that one has the required shots to the required standard, i.e., a “winning” 3-star image for every shot required. As I’m shooting I assign a star rating to the image as follows:
- 0 – unranked
- 1 – Delete (probably)
- 2 – Worthy of further consideration
- 3 – Definite keeper.
When I think I may have finished with a particular shot, I review the unranked (zero star) images moving to one or two stars; then all the two star images, moving to one or three star, to ensure that I have at least one “Keeper”.
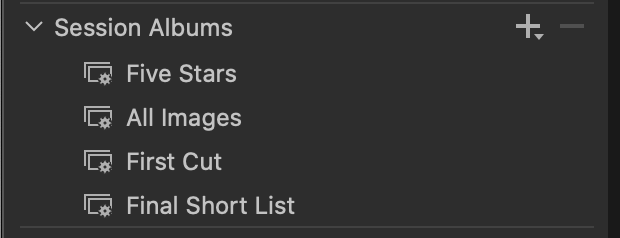
The Two Shot template automatically sets up the above Albums.
Transfer to Main Computer
This is exactly as stated in the ” “:
- Copy the session folder from the Laptop’s “Pictures” directory to a portable external disk
- Copy this session folder from the external drive to the Pictures directory of the main computer
- From Capture One on main, desktop computer:
- Menu: File -> Open
- navigate to the newly created folder under Pictures on the C: drive
- select the session file as below.
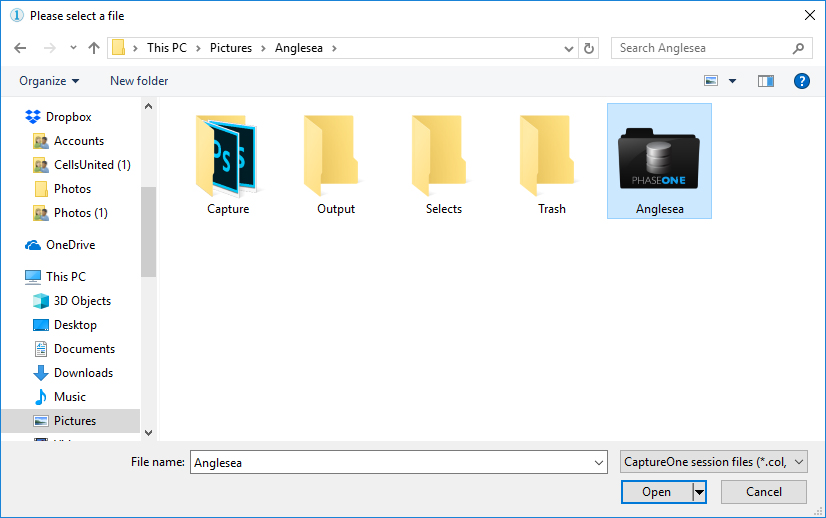
Then the session is just as though it had been shot on the main computer. Clean and easy – job done.
Notes:
- Capture One 20 Live: “Improve Your Tethered Workflow” – one of the best out of an excellent series; with chapter marks so that you can go directly to the section required.
Hi there! How are you able to enable Live View in Capture Pilot with a Sony camera? Thank you!
Hi Lauren,
Thank you for commenting on my site.
Although I shoot tethered to Capture One Pro regularly, I have all but given up on CapturePilot. Unless Phase One have updated it recently, as I remember, the free version had fairly limited functionality and the paid-for (albeit fairly cheap) version didn’t really provide what it claimed, at least for Sony cameras, eventually I asked for my money back.
I have spent the last hour trying to do live view with Capture Pilot and can’t.
I am sorry if I have misled you.
I will update the post to make this point clear.
Andy.